
How to Install LED Strip Lights: A Comprehensive Guide for Perfect Lighting
Jul 27, 2025
LED strip lights have revolutionized interior and exterior lighting, offering versatile, energy-efficient solutions for homes, offices, and commercial spaces. Whether you want to add ambient glow to your living room, highlight architectural features, or brighten up a workspace, proper installation is key to achieving the desired effect. This step-by-step guide will walk you through the process of installing LED strip lights, ensuring safety, durability, and optimal performance.
1. Gather Your Tools and Materials
Before starting, ensure you have all the necessary tools and materials. Here's a checklist to avoid delays:
LED strip lights: Choose the right type (waterproof for outdoor/kitchen use, non-waterproof for dry areas) and length. Measure the installation area beforehand to avoid shortages.
Power supply (LED driver): Match the voltage (12V or 24V) and wattage with your LED strips. A 10% wattage buffer is recommended for safety.
Connectors: For extending strips or connecting to the power supply (e.g., DC jacks, solderless clips).
Mounting accessories: Adhesive backing (included with most strips), mounting clips, screws, or double-sided tape for extra security.
Cutting tools: Scissors or a utility knife (cut only along marked lines to avoid damaging components).
Electrical tools: Wire strippers, electrical tape, and a voltage tester (for checking power).
Optional: Dimmers, controllers, or smart home integrations (e.g., Wi-Fi modules) for adjustable lighting.
2. Prepare the Installation Area
Proper surface preparation ensures your LED strips adhere securely and last longer:
Clean the surface: Wipe the area with a dry cloth to remove dust, dirt, or grease. For stubborn residue, use rubbing alcohol and let it dry completely.
Check for flatness: LED strips work best on smooth, flat surfaces. Avoid uneven or curved areas, as they may cause the strips to peel over time.
Plan the layout: Mark the path with a pencil, ensuring the strips align with corners or edges if needed. Leave space for the power supply and any connectors.
Avoid obstacles: Keep strips away from heat sources (e.g., radiators, ovens) and water (unless using waterproof strips) to prevent damage.
3. Cut and Connect the LED Strips (If Needed)
Most LED strips can be cut to length at designated cut lines (marked with scissors icons). Follow these steps:
Cut carefully: Use sharp scissors to cut straight along the marked lines. Never cut between the lines, as this will destroy the circuit.
Connect strips: Use solderless connectors for easy joins. Open the connector, insert the strip's copper pads into the slot, and close the clamp firmly. For a permanent bond, solder the connections and cover with heat-shrink tubing.
Test connections: Before mounting, connect the strips to the power supply and turn it on to ensure all LEDs light up. Fix any loose connections immediately.
4. Mount the LED Strips
Now it's time to attach the strips to your chosen surface:
Peel and stick: Remove the protective film from the adhesive backing and press the strip firmly onto the surface. Start from one end and work your way along the marked path, applying even pressure to avoid air bubbles.
Use mounting clips: For high-traffic areas or vertical surfaces, add mounting clips every 12–18 inches for extra support. Screw the clips into the surface and slide the strips into place.
Handle with care: Avoid bending the strips sharply or pulling them once mounted, as this can damage the LEDs or wiring.
5. Connect to the Power Supply
Safety is critical when working with electricity. Follow these steps:
Turn off the power: Ensure the main power source is switched off before making connections.
Wire the power supply: Connect the LED strip's wires to the power supply. Match positive (+) and negative (-) terminals (usually marked red for positive, black for negative).
Secure connections: Use wire nuts or electrical tape to insulate exposed wires. For outdoor setups, use waterproof connectors.
Mount the power supply: Place the driver in a cool, dry location (e.g., a cabinet or junction box) to prevent overheating. Avoid hiding it in enclosed spaces without ventilation.
6. Test and Adjust
Once everything is connected, test your installation:
Turn on the power: Use a voltage tester to check for current before fully powering up. If the strips don't light up, check connections or replace the power supply if faulty.
Adjust alignment: If any sections are misaligned, gently peel and reposition them (within the first 24 hours; after that, the adhesive may set permanently).
Add finishing touches: Conceal wires with cable clips or channel covers for a neat look. Install dimmers or controllers according to the manufacturer's instructions.
7. Maintenance Tips for Longevity
Clean regularly: Dust the strips with a soft brush or cloth to maintain brightness.
Check connections: Inspect wires and connectors annually for signs of wear or corrosion.
Replace faulty sections: If a part of the strip stops working, cut and replace it using new connectors.
Avoid overloading: Never exceed the power supply's wattage limit, as this can cause overheating.
Final Thoughts
Installing LED strip lights is a straightforward process that anyone can master with the right tools and preparation. By following these steps, you'll create stunning, customizable lighting that enhances your space for years to come. Whether you're a DIY enthusiast or a beginner, remember to prioritize safety and take your time to ensure a flawless finish.
You Might Also Like
-
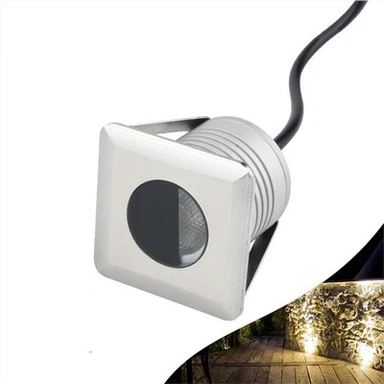
LED IP67 Square Half Moon Recessed Light Outdoor Spot DAY...
-

LED DC24V 6W Outdoor Linear Recessed Inground Light IP67 ...
-

Outdoor LED Floodlight 48W IP65 RGBW
-

12W Double-sided LED Square Bollard Light Small Pathway L...
-
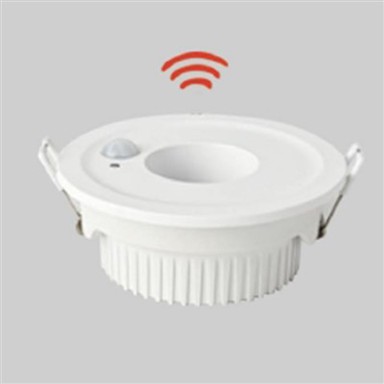
5W Automatic Switching Off Of Downlight Anti-glare CHD-XY005
-
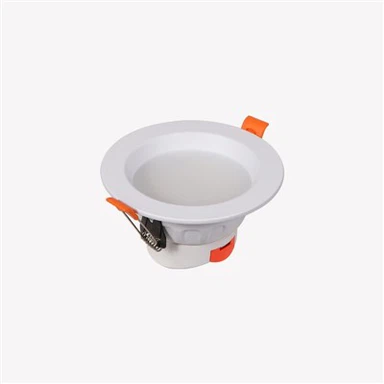
7.5W Recessed GRB Dimmable LED Downlight